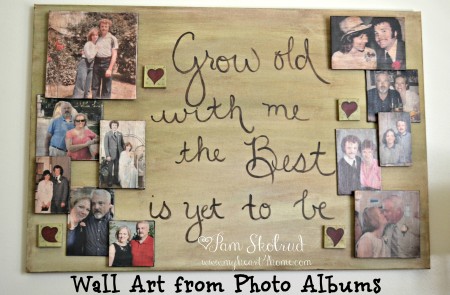
Do you have boxes or photo albums full of old photos? Do you have a hard drive full of digital photos? How often do you take the time to enjoy the photos and the memories they evoke? I decided I wanted to enjoy some of the pics of my hubby and I through the years so I created this piece of wall art using a mix of digital and scanned photos.
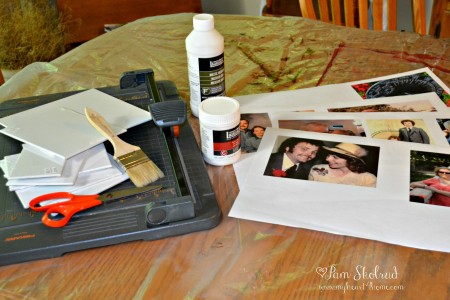
Of course, the first step is to select the photos that you want to use. Scan your old photos and select your favorite digital pics so you can print them. I used a color laser printer for the best quality and color that won’t run when you apply glue, paint, etc. Use a program like Photoshop or Publisher to size your pics and lay them out so that you can print multiple pictures per page.
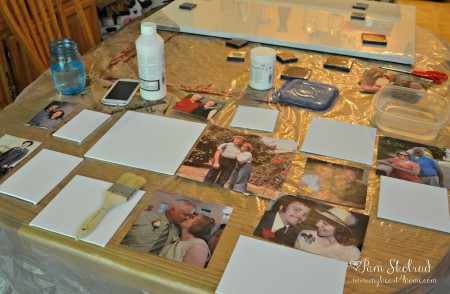
I purchased square and rectangle canvas panels from the craft store in various sizes from 3 x 3 to 8 x 8. I formatted my photos to matching sizes. I trimmed the photos to the sizes of the panels, and then applied the photos to the panels using the techniques described on this website.
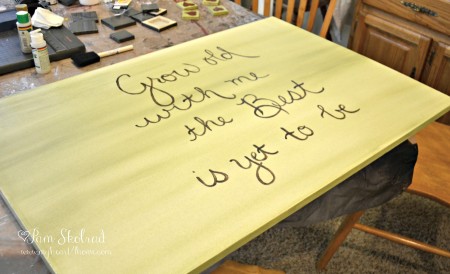
After the photo panels were dry, I used a two-step crackle process and then antiqued the photos. For the background, I used a 24 x 36 canvas. I painted with acrylic paint in a color that blended with my bedroom decor. I didn’t worry about it being exactly even. In fact, I liked the varied depths of color.
Years ago, my hubby bought me a sundial for our garden with this saying on it. It expresses how I feel about our life together. I used a water-soluble quilt pen to write the words on the canvas, and then painted over the ink with acrylic paint. The wonder of the quilt pen is, that if you don’t paint the letters exactly, a spritz of water after the paint dries will remove any exposed ink from the quilt pen. When it was dry, I antiqued the large canvas the same way that I antiqued the photo canvases.
When I purchased the canvas panels, I also picked up 2 x 2 stretch canvases to allow me to mount my pictures in a multi-dimensional layout, and four 1 x 1 canvases to add artsy hearts to my design. I used StrongStik all-purpose, permanent bond adhesive to mount some panels and the heart canvases directly to the large canvas. For added dimension, I mounted several of the small stretched canvases to the large canvas, and then mounted the canvas panels to the small canvases so they stand out from the background. After I completed assembling my masterpiece, I sprayed the whole piece with polyurethane sealer to protect it from dust.
I love the finished art piece, and it is hanging above the dresser in our bedroom.
So how do you display your photos? Are they in a box or on a hard drive? It’s time to get a few of your favorites out of those boxes and off that hard drive, and use them creatively to decorate your home. Please share photos of your creations in the comments below.
Using my heart 4 home to decorate and make our little rental feel more like ours!


